Each week, ShortStack's customer service agents receive similar questions about how to use the platform. We have tons of useful and detailed help docs, and frequently-updated user forums, but just to clear the air, here are answers to some of our most frequently asked questions.
1. How do I limit entries?
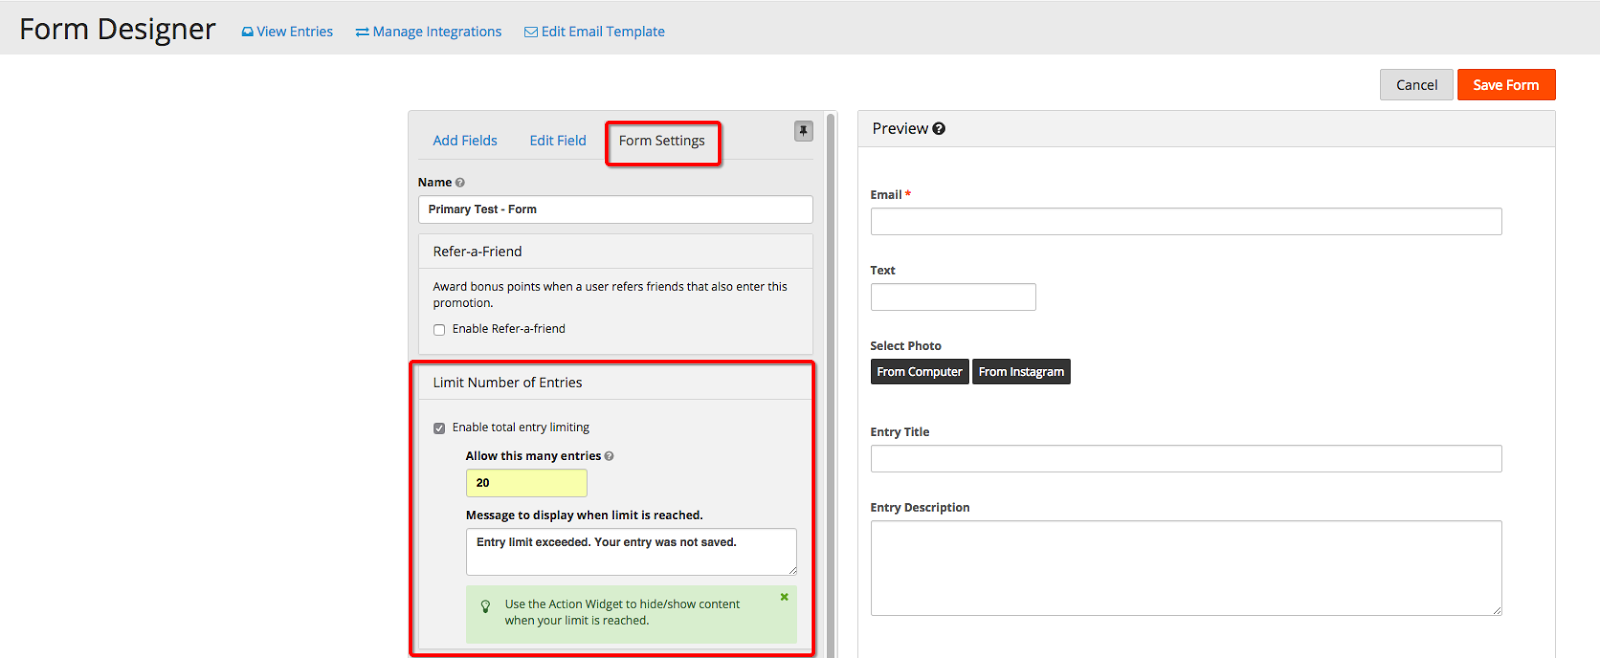
There are actually two aspects to this question. First, how to limit entries so that only a designated number of people can enter, and then, how to limit entries so that a user only enters once. If you want to limit entries so that only the first 20 people to enter your Campaign receive a prize or a coupon, you can set this up within the Form Settings:
To limit the number of times a person can enter, you also use the Form Designer. Select the Email or Facebook login field, and then set up the validation under Edit Field. This is where you can establish the number of times someone will be able to enter their information into your Campaign:

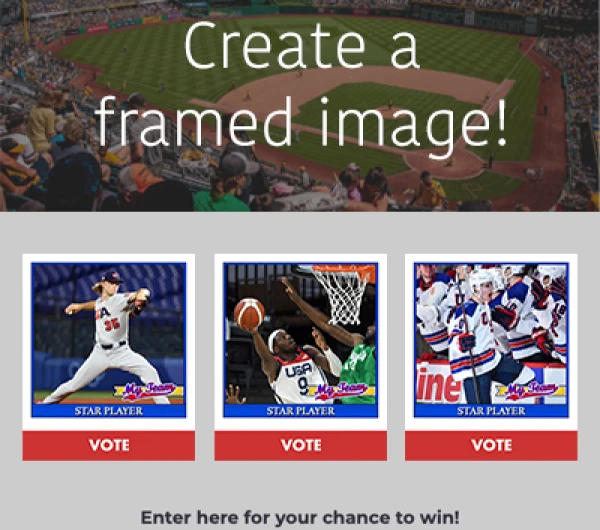
2. How do I set up a contest where people only vote for a winner (the voter doesn't submit the entries)?
We call this type of a Campaign a "vote-only" Campaign, and we have a template specifically for this. This means that you, the Campaign creator, upload the entries you want other people to vote on. This type of Campaign doesn’t require that people submit entries. If you still want to collect some user information, like a name and email address, you can do so, but the entries people vote on will be uploaded by you through the Campaign Builder.
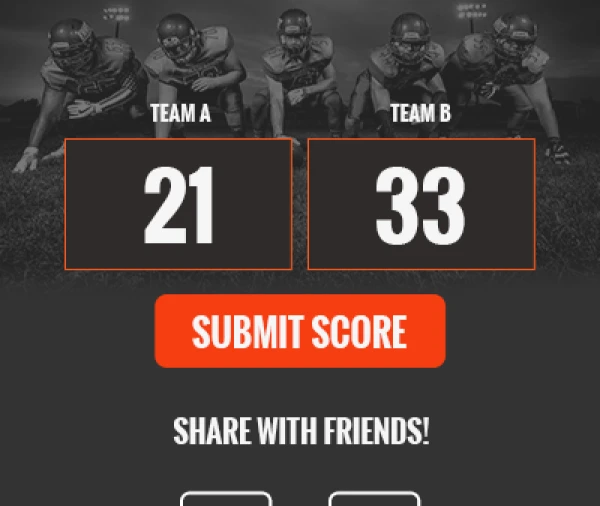
3. How do I share after form submission?
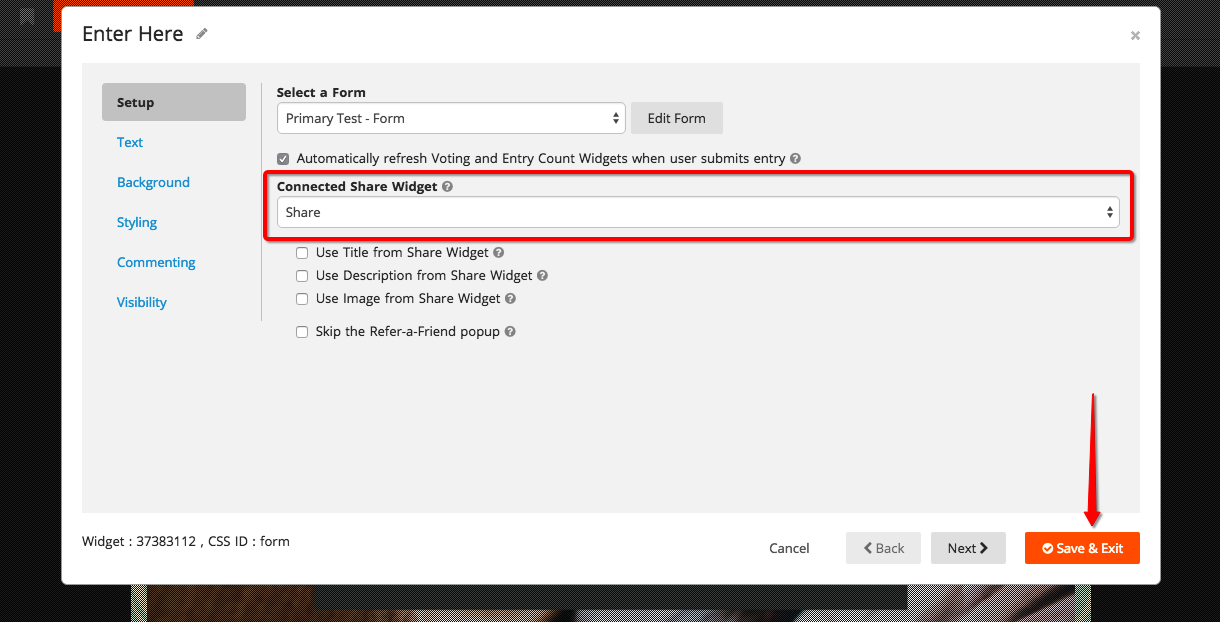
If you’d like to prompt a user to share your Campaign, you can do so by adding a Share Widget, and then connecting this within the Form Widget. Select the Share Widget within the “Connected Share Widget” setting, and be sure to save and exit before closing this Widget.
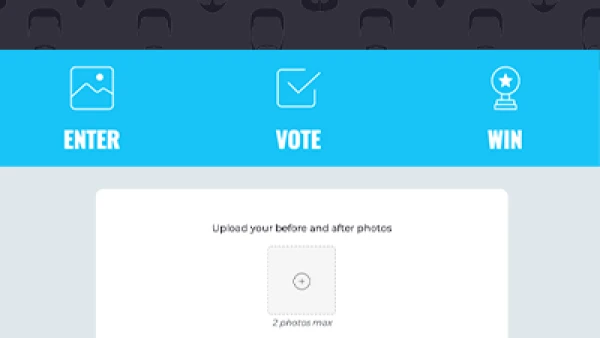
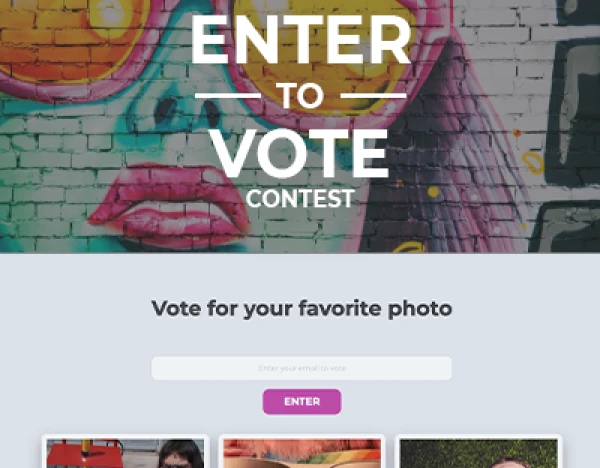
4. How do I set up a contest where people vote?
Did you know that you can set up different types of voting contests with ShortStack, including a photo contest, video contest, or story contest? We have templates available for each of these! All you need for a basic voting contest is a Form Widget -- where you’ll create the form to collect entries -- and a Voting Widget, which is what displays the submitted entries.In your Form Widget, you’ll want to create a new form within the Form Designer, and add the fields you want people to submit. Depending on the type of contest you run, this may include a photo upload field, a video URL field, or a text field (for a story contest).Once you’ve created your form, return to your Campaign, and add a Voting Widget. Within the main Voting Widget settings, select the form you’ve created from the dropdown menu. This will ensure that the entries you receive will then be displayed in the Voting Widget for people to vote on.
5. What does that popup when people click the Login with FB button, or when they vote (with restrictions) mean, and can the text be changed?
When you use any sort of Facebook feature within the Campaign Builder, much of it is sourced directly from Facebook itself, so it will look like other Facebook features that you’re probably familiar with. This popup allows a participant to confirm that they are a valid user by authorizing their Facebook profile. This will pull in a user’s Facebook ID when they vote, so you can connect votes back to the users who voted. The settings that appear here can only be changed if you have custom published your Campaign to Facebook. This is different than quick publishing, which doesn’t require setting up anything through Facebook’s developer settings. If you custom publish, this will give you more options for customizing things, such as the appearance of this authorization dialog.

To change this setting, click on Campaign Settings > Custom Publish, then click the link to View/Edit Settings in Facebook Developer App. When the Developer App opens, click on App Details and scroll down to where you can upload the App Icon. The image you use will need to be 1024 x 1024 pixels. If you have any follow-up questions, or other questions you'd like us to answer in a blog post, please email theteam@shortstacklab.com!
About the author
Dana Sullivan Kilroy is a communications professional with more than 20 years of experience delivering compelling content. Her work has appeared in national, award-winning publications and sites, including: The New York Times, The Los Angeles Times, The Wall Street Journal, USA Today, and Fast Company, Inc.
Recent posts
Go back to blog


Get marketing tips straight to your inbox
Launch an irresistible giveaway. Get started for free.
Join 630.000+ marketers that are boosting engagement and sales.