If you’re new to ShortStack, this get-started guide will walk you through building and publishing your first Campaign.
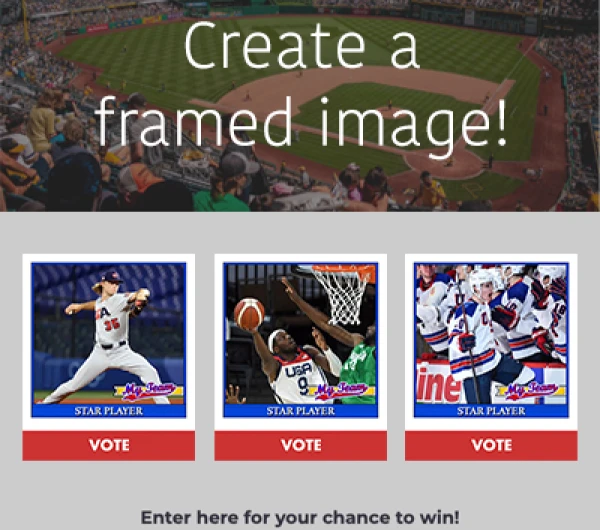
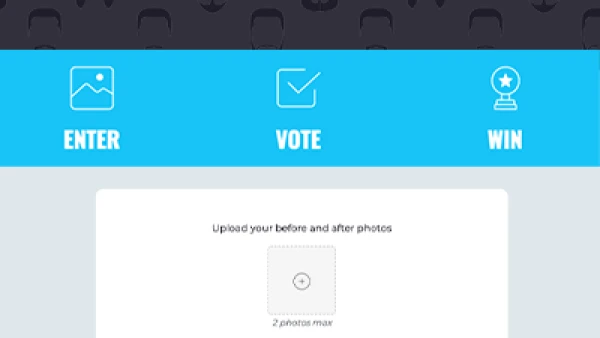
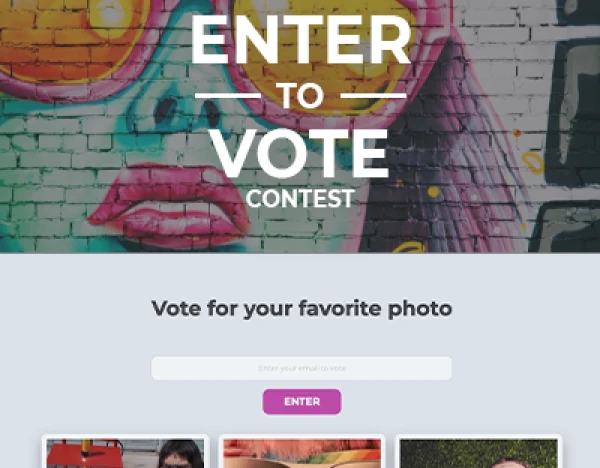
In 11 simple steps, and in less than an hour, you'll create one of our most popular types of Campaigns: a Vote to Enter Sweepstakes.
What is a Sweepstakes?
A sweepstakes refers to a giveaway in which winners are chosen at random. (By the way, a contest is another kind of giveaway but it requires entrants to submit something, a photo, video, essay, etc. And a winner is chosen by a judge or by votes.) Once you've built a sweepstakes Campaign, you’ll be prepared to build many other types of Campaigns using ShortStack. Let’s get started!
Building Your Sweepstakes with a ShortStack Template
All of ShortStack’s templates come pre-designed with widgets, features and functions set up and ready for you to customize. To go from a template to a published sweepstakes, follow the steps below:
Step 1: Create a Campaign from a Template
On ShortStack’s home dashboard, click the orange button labeled “Create Campaign from Template.”
Step 2: Select Your Sweepstakes Template
Select the “Vote to Enter Sweepstakes” template and then click the orange “Make Campaign” button.
Step 3: Choose a Theme
You are in ShortStack’s Campaign Builder. This is where you customize the look and functionality of your sweepstakes.In the upper left corner of the Campaign Builder, select a theme by clicking on the gray paintbrush icon. Click “Save” when you’ve found the theme you like.
Step 4: Create a Header Image
Click on the Image Widget (the one that looks like mountains) under “Basic Tools” in the left-hand column. An “Image Selector” window appears. From here, add your header image or build your own graphic with Canva (more on this below).
We suggest you feature a picture of your prize! To jazz up your header image with some pretty graphics, use ShortStack’s Canva integration.
Within the Image Widget’s Image Selector, click on the blue “Design a graphic” buttonIf you decide to use Canva, you will be taken to a Canva interface within ShortStack where you can design your header image. Click “Publish” in the upper right-hand corner when you’re done designing.
Once you’re done uploading your header image or designing it in Canva, within the Image Selector, select your image. Click “Select” when you’re done. You are now within the Setup tab of the Image Widget.
Note: When you upload your image in the Image Widget, the size of the image may readjust so it fits in the widget.Click “Save & Exit” to view your new header image.
Step 5: Add a Background Image
To add a background image to your Campaign, go to Campaign Settings by clicking on the gray gear icon.
Next, click on the “Desktop” tab. Within the tab, click on “Select Background Image” to add a background image. Click “Select” and then “Save” when you’re done.
Important note: Make sure the image you choose is at least 1024x768 pixels, otherwise the image will be too small to be featured in the background.
Step 6: Edit Your Campaign’s Text
To edit text, click the section you want to edit. Each text section will highlight itself on the Campaign, as well as in the left-hand column. Once highlighted, click on the gray pencil icon that appears in the left-hand corner.
Step 7: Add Entries for Your Campaign Visitors to Vote On
To add entries to your Campaign, first click the blue “Test your Campaign” button twice. It’s located at the top of your Campaign. The blue button will switch to green and now say “Live Data On.”When your Campaign is in “Live Data On” mode, you are able to add entries to your Campaign using the promotion form at the bottom of the Campaign.
Note: Refresh your Campaign to see each new entry you create.
To edit or delete one of the entries you created, click on the“View Entries” icon within the Edit Widgets Panel.
In ShortStack’s Forms & Promos manager, you can view, edit and/or delete the voting entries you have created. Click on “Return to Campaign” to go back to customizing your Campaign.
Step 8: Edit Your Promotion Form
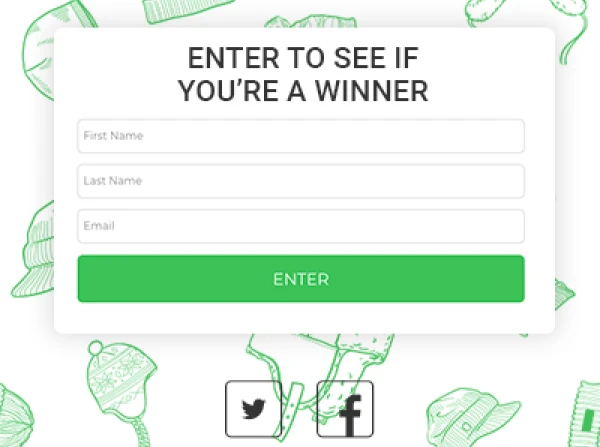
To edit the promotion form your Campaign users see after they vote, click on the gray pencil icon next to the Promotion Widget labeled “Sweepstakes Popup.”
Next, click on the “Edit Promotion” button within the Promotion Widget. You will then be directed to ShortStack’s Form Designer.In the Form Designer, edit your promotion form to include the information fields you want to collect from your Campaign users.
It’s a best practice to only ask for a few key pieces of information, like name and email address. Why? The more fields you require, the higher your Campaign’s abandon rate will be.
To reward your Campaign users for sharing their information with you, use ShortStack’s Points Per Field Feature to assign a point value to each field of your promotion form. Hover over a field in the form preview and click the pencil icon to edit the field.
Find the “Extra Points” and then enter a number in the “Extra Point Value” field.When you’re happy with your form, click “Save Form” to be directed back to the Campaign Builder.
Step 9: Edit Your Sweepstakes Rules
To edit your sweepstakes rules, click on the gray pencil icon of the Rich Text Widget labeled “Promotion Rules.” Within the Rich Text Widget’s “Setup” tab, edit your promotion’s rules. When you’re done editing your sweepstakes rules, click “Save & Exit.”
Step 10: Test Your Campaign as a User
The final step before you publish your Campaign is to go through and use it as a user would. Vote and enter information in your pop-up forms, test all your Campaign links, etc.
To test your Campaign as a user, find the Preview Controls Panel on the right side of your window. Click the "Test Mode" to toggle to the "On" position. Be sure to click the "Live Entry Mode" toggle to the "Off" position before you enter a test submission.
A test submission will not display a live entry on your published campaign.
Step 11: Publish Your Campaign
Woohoo ! You’re almost done!
To prepare to publish your Campaign, start by deleting the Instructions Widget.
Click to highlight the Widget, then in the top right corner click on the gray trashcan icon. Now that you’ve deleted the Instructions Widget, you’re ready to publish your Campaign.
To publish your Campaign, first make sure your Campaign is in “Test Your Campaign” mode. Next, click on the big orange “Publish Campaign” button in the upper right-hand screen. In the popup, select where you would like to publish your Campaign.
With ShortStack, you can either publish your Campaign on Facebook, anywhere on the web, or both.With ShortStack, you have two publishing options: Quick Publish or Custom Publish. Choose one of the two options and walk through the steps of publishing your Campaign.
Once your sweepstakes is published, use your Campaign URL to promote it across the web. If you forget what your Campaign URL is, find it by clicking on the Manage Publications icon in the top right-hand corner.
Promoting Your Sweepstakes Campaign
Now that you’ve published your sweepstakes Campaign, it’s time to promote it! The “If you build it, they will come” expression does not apply to Campaigns.
Seventy-five percent of what makes a Campaign successful is what you do to promote it.
That said, there are lots of ways to promote a Campaign — most of which don’t cost much because you’re making use of resources, like your website and social media channels, that you already have.
To make sure you don’t forget all the little updates and improvements you can do to promote your Campaign, we’ve created a handy 40-point checklist.
Help & Resources
Were you able to make it through all these steps successfully? If not and you have questions, shoot us a message at theteam@shortstack.com. You can also check out the following resources:
We love seeing what our users build with ShortStack and often write case studies and blog posts about our users. If you've got something you want us to see, please let us know!
About the author
Dana Sullivan Kilroy is a communications professional with more than 20 years of experience delivering compelling content. Her work has appeared in national, award-winning publications and sites, including: The New York Times, The Los Angeles Times, The Wall Street Journal, USA Today, and Fast Company, Inc.
Recent posts
Go back to blogGet marketing tips straight to your inbox
Launch an irresistible giveaway. Get started for free.
Join 630.000+ marketers that are boosting engagement and sales.
